This is a sponsored post written by me on behalf of Hot Tools for IZEA Worldwide. All opinions are 100% mine.
Before I became a mom, I was so finicky about my hair! I used to wake up EVERY morning, shower, blow-dry, and style it. Of course, when the babies moved in, they seemed to think the morning would be a great time for diaper changes and feedings, so the daily shower routine went out the window.
After being forced out of my daily hair-washing routine, I was able to see that I didn’t actually have to wash my hair every day! This seriously changed everything…
Except the fact that I still didn’t have any time to do my hair, even if I did want to…
Every mom knows that the first several months after a baby is born is mom-bun central. But after a while, the mom bun look starts to get old and I wanted to feel more like myself again!!
So… I started to get creative.
Since the prenatal vitamins I’d been taking had done wonders for growing my hair, it was finally long enough so that I could braid it without looking like I had two short pieces of rope sticking off my head #thickhairproblems.
When Josh and I go out on dates, I know I don’t have a ton of time between setting the kids up with a snack and getting myself ready and out the door, which is why I LOVE to stick my hair up in a quick and easy braid for our night out!
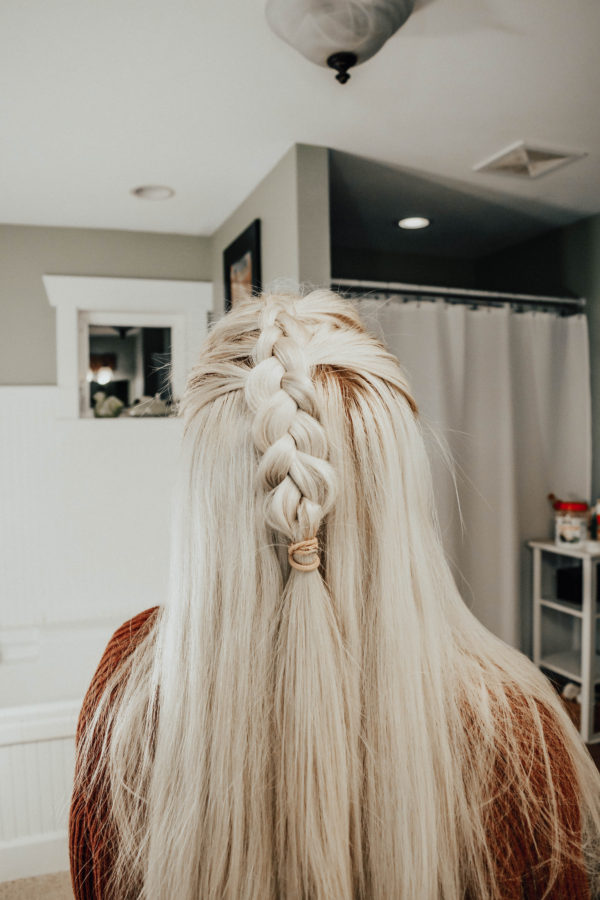
Here’s the first braid:
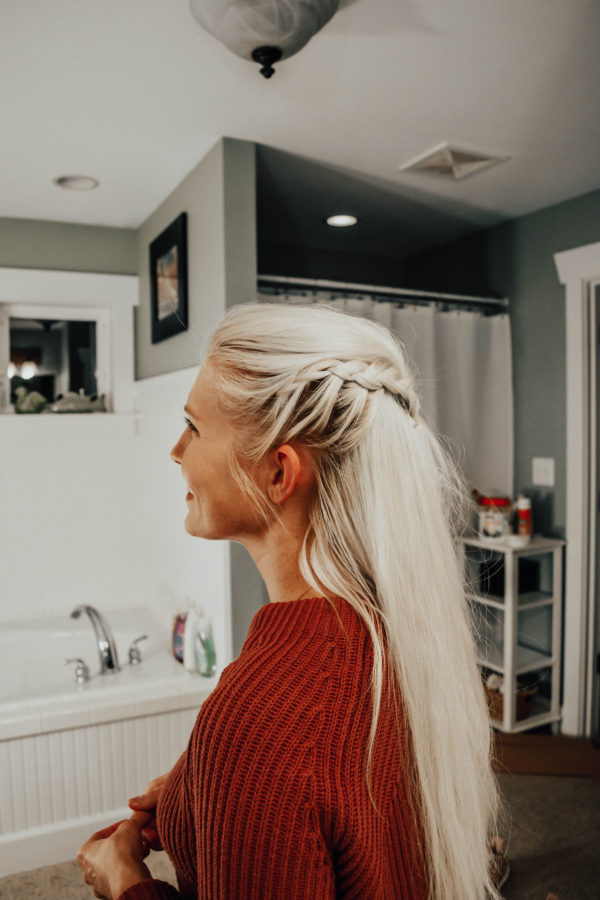
Viking goddess
I call this hairstyle the Viking woman because, well…
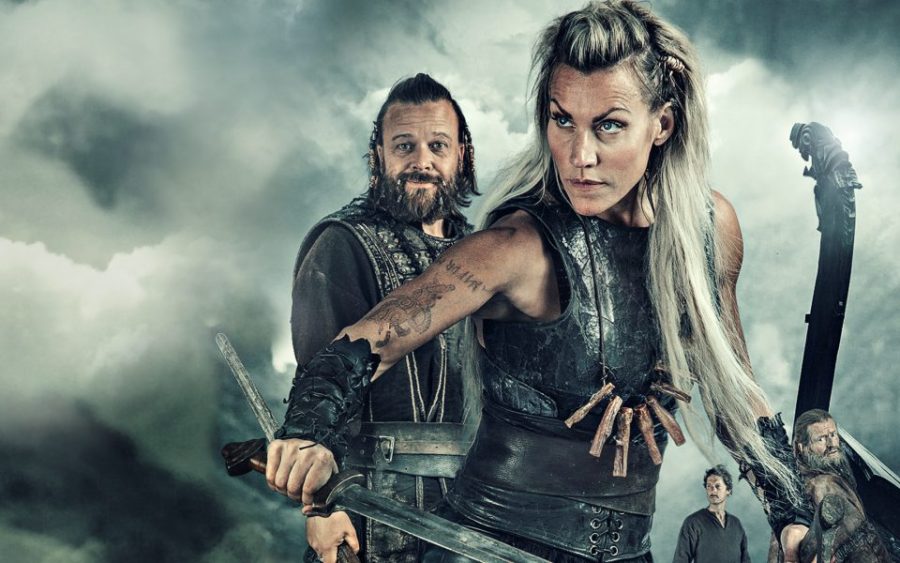
You get the point.
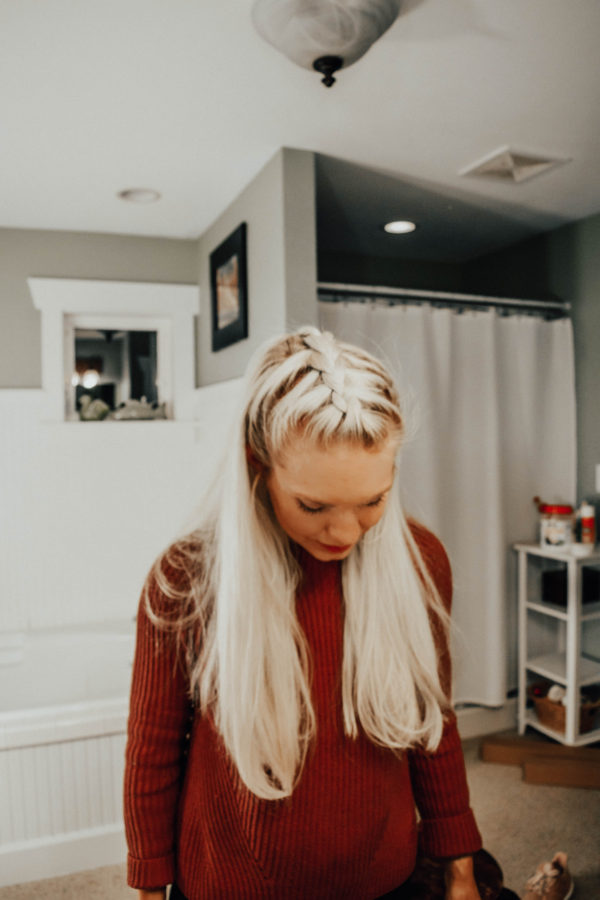
I start this off by using my Hot Tools Signature Series Digital flat iron, 1 inch and straightening all of my hair. I then start to Dutch braid my hair and gather all the hair around my face up until I get back to about my ears. Then I continue the braid without gathering any more hair into it. Make this braid as long as you like, I made it a few inches down the back of my head. Tie it off with a rubber band or hair tie and you’re golden!
Next up is the…
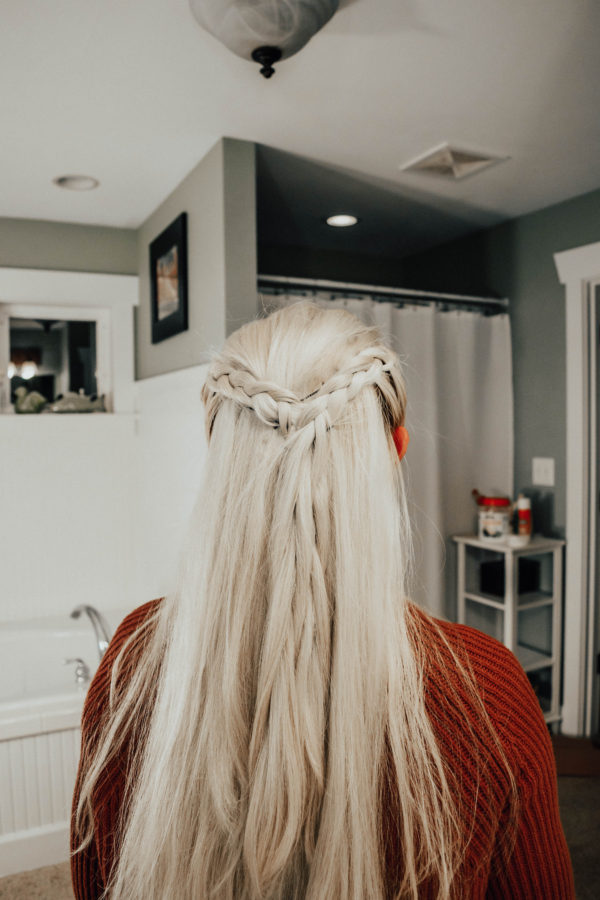
Crowning glory
This hairstyle is made up of two Dutch braids on either side of the head and then joining them together in the back.
First, I part my hair to the side so that I’ll have a significant portion left on top of my head to tease and pin back later.
Then, I start Dutch braiding by my temple and continue to gather hair into the braid until I reach halfway to the back of my head. Then I continue the braid without gathering any more hair for several inches.
Then, do the same thing to the other side while leaving a large section of hair free on top of your head.
Next, you’ll tease the back of that section of hair, brush the front so it looks smooth, and then pin it back on the back of your head.
Lastly, take the braids and crisscross them behind your head. Secure them with bobby pins, doing your best to hide them. Then take the hair ties out of your braids and spray with a little hairspray.
Lastly, we have the
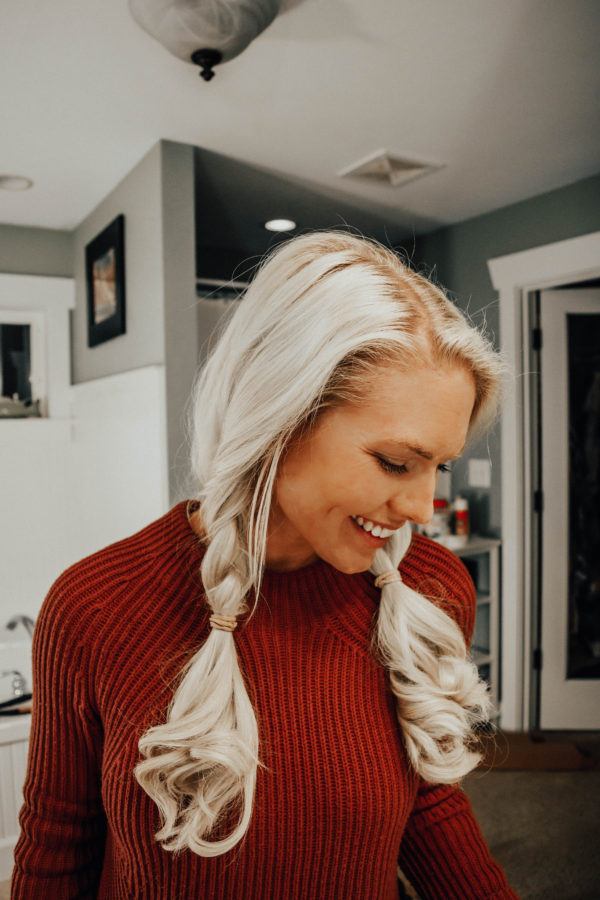
The Whirlygig
For this last set of braids, I’m going to start by curing my hair with my Hot Tools Signature Series curling iron.
Then, I’ll comb my hair down the middle and split my hair into two halves.
Grab one half of hair and begin braiding just below your ear. Do the same to the other side of hair. For each braid, you’ll want to leave 3-4 inches of hair after the hair tie.
Next, we’re going to grab the ends of our hair and pull outward so that the braid is crunched upward, making for thicker links. I’ll also pull gently on pieces of the braid to make some of the links larger.

Of course, these hairstyles wouldn’t look nearly this good without my trusty Hot Tools Signature Series!
Seriously, I have never been more happy with my hair styling tools. I’m very protective of my hair and am always cautious when it comes to using heat on it. When I use my Hot Tools Signature Series, I never feel any pulling or breakage.
I especially LOVE the Hot Tools Signature Series blow dryer! My favorite feature has to be the heat settings. I can blow dry my hair on a cool setting the entire time (without having to hold down a button) and afterward it feels just as healthy as if I had let it air dry!
I can’t recommend the Hot Tools Signature Series more! Shop for the tools at Amazon, Target or Walmart!
What’s your go-to date night hairstyle? Leave your tips in the comments below and let me know what you thought of these braid tutorials!


These photos are gorgeous!!! I love your hair.
I wish I had known how to braid my hair like a viking instead of chopping off my tresses. Fortunately its growing back so i’m saving this!
chelsea i love them all, but the viking is especially sexy! pinning for date night. 🙂
Oh I love all three!! I am not great at braiding hair and it’s actually a goal of mine to start doing more fun hairstyles!
xoxo A
http://www.southernbelleintraining.com
Your hair is beautiful! I love these ideas, especially the viking!
I’m so impressed that you can do this. I’ve never been able to braid, not even on someone else’s hair let alone my own. Your hair looks so stylish like this.
Love all of these on you!! I wish I was better at doing my hair.
I LOVE all of these! I don’t have super thick hair so my braids don’t look that great, but i still love to do them! I like the first one best! I do that with a pony tail for the gym!
ok, i need to try All of these! I can’t do much with my hair as far as heat styling, but these are sooo cute and you make it so easy